Published January 2021
After the Covid-19 breakout I found myself working from home more often than what I was used to. Personally I enjoyed it at first, no fixed routines, flexibility in your schedule and the comfort of your own home. However the days do get very repetitive and I soon after started craving some changes in my days. I found those in taking breaks outside, cooking and keeping up a habit of sports. This however did not change my day to day working routine at my desk. To switch up the office sitting time, I decided to get a standing desk. And have loved it so far! I found a great deal on an electric desk that moves on the push of up and down buttons (obviously). The only thing that kept nagging me was the it didn't have a memory function, storing the top and low positions of the table. Without a reference I ended up having to constantly re-adjust it every time I changed the table height... So I decide to automate it!
I decided to go for a state machine-based control algorithm, implemented on an Arduino Nano. Using 5 states, two for "manual" table movement (i.e. it only moves while pushing a button) and two for bringing it all the way to the top or bottom position ("shift up" and "shift down") and the "stop" state for the table at rest where it currently is. There is no position encoding, so the controller never exactly knows at which height the table is, but it senses either one of the Hall sensor as end positions or is stopped by a safety end switch at the lowest point of the table or a timer timeout in case one of the Hall sensors would not fire. The complete code is available on Github.
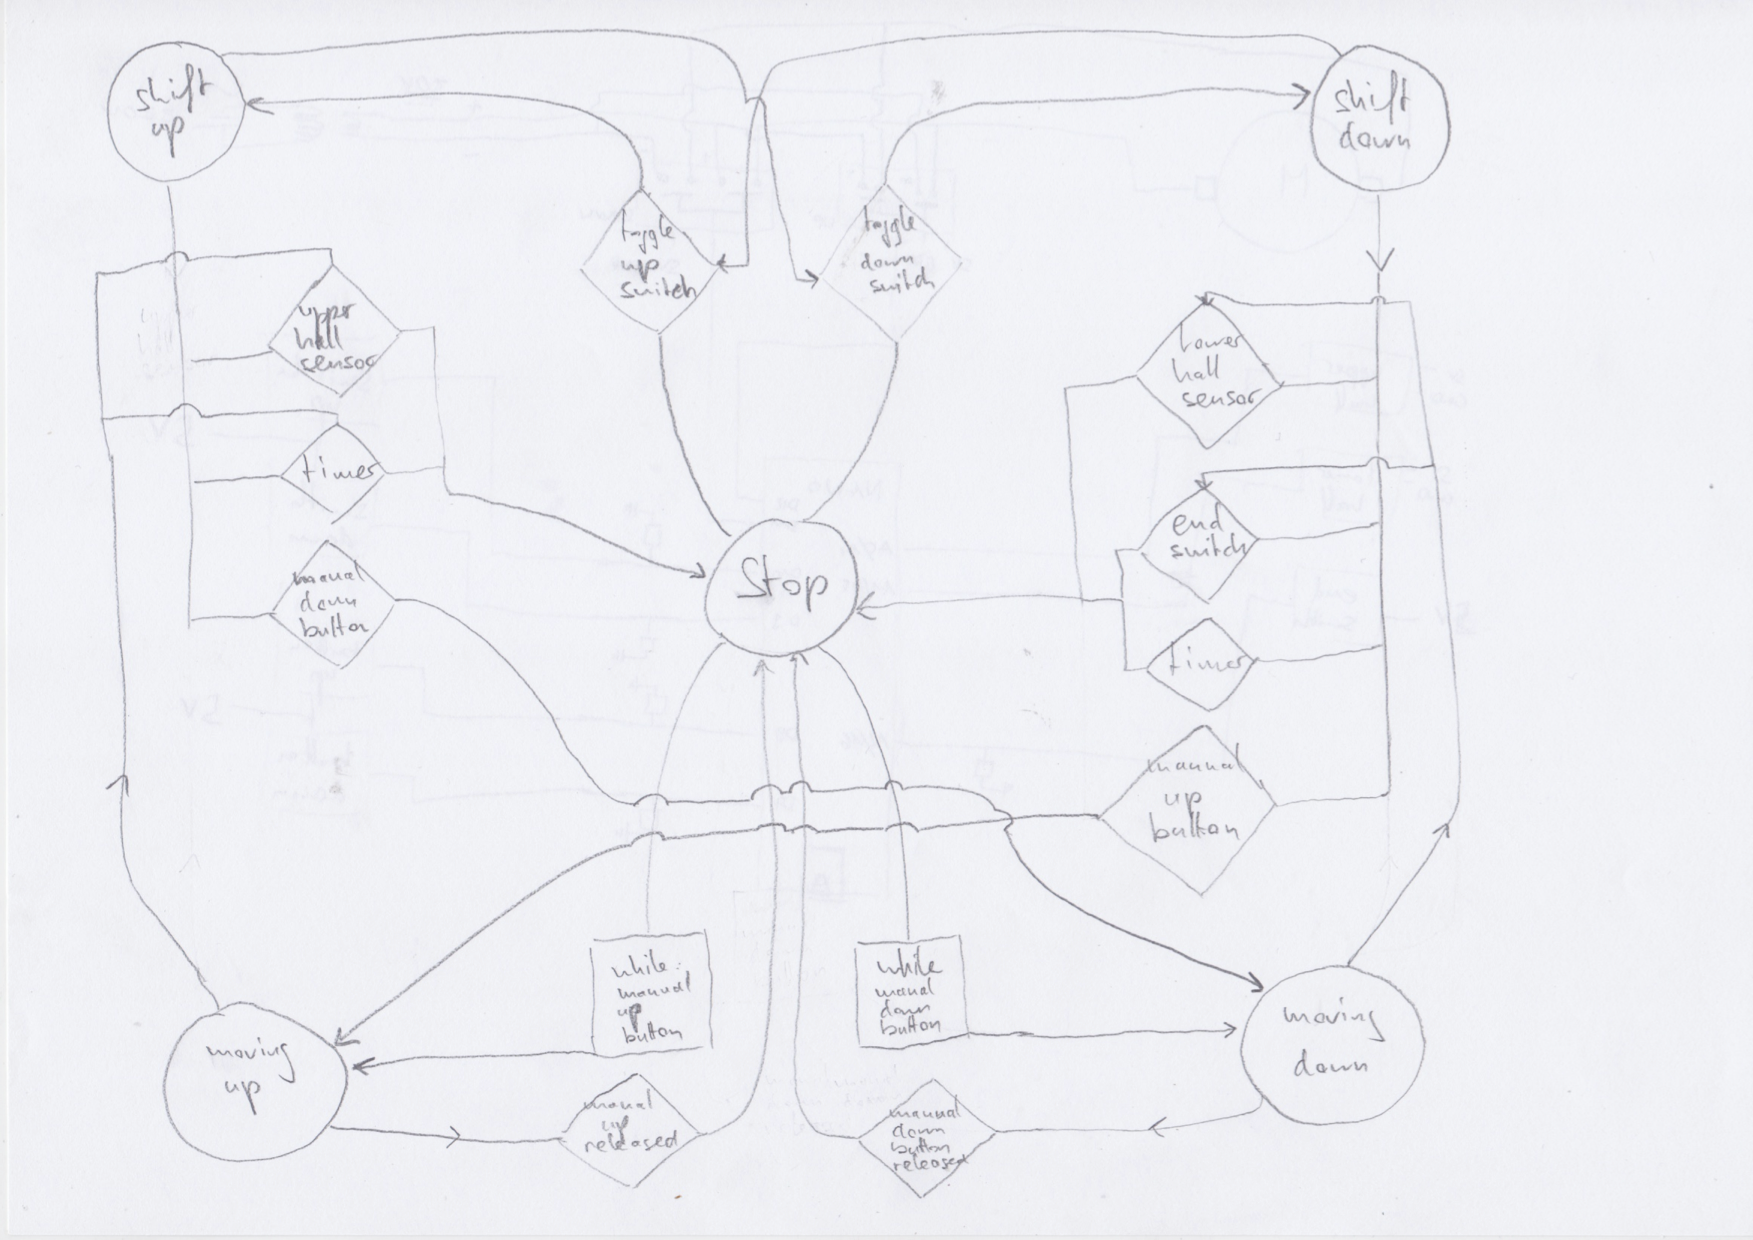
The state machine controlling the table movement.
I decided to keep the original buttons, power converter and motor of the table. But added all the sensors and the additional switch. To ensure that non of the Arduino inputs would be floating (and risk having the table move around randomly) I added pull-down resistors to all the inputs.
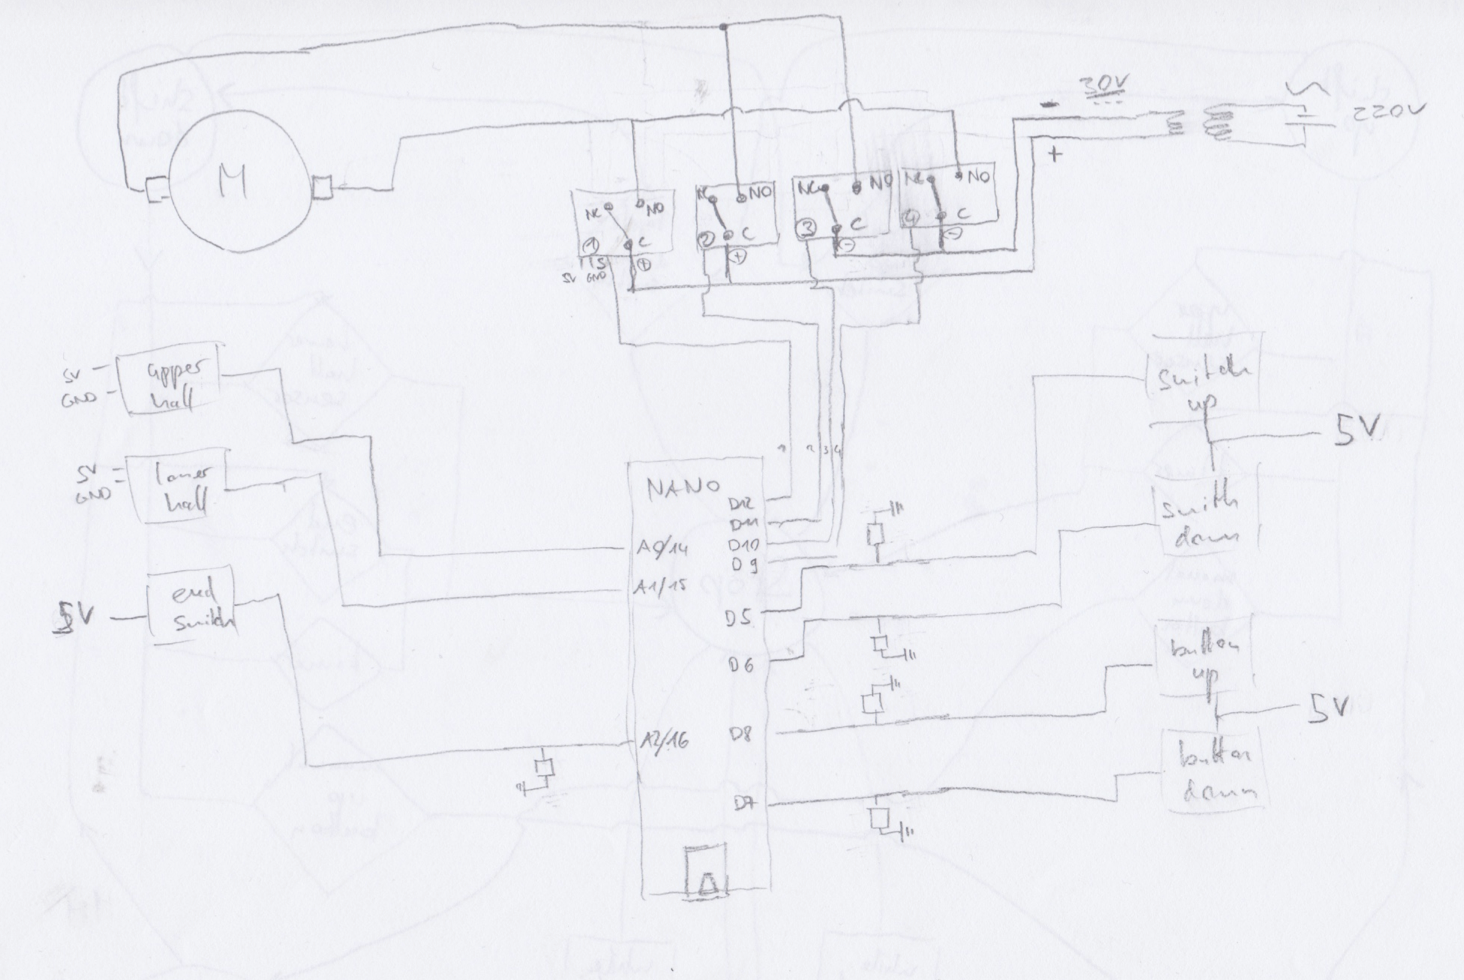
The connectivity diagram.
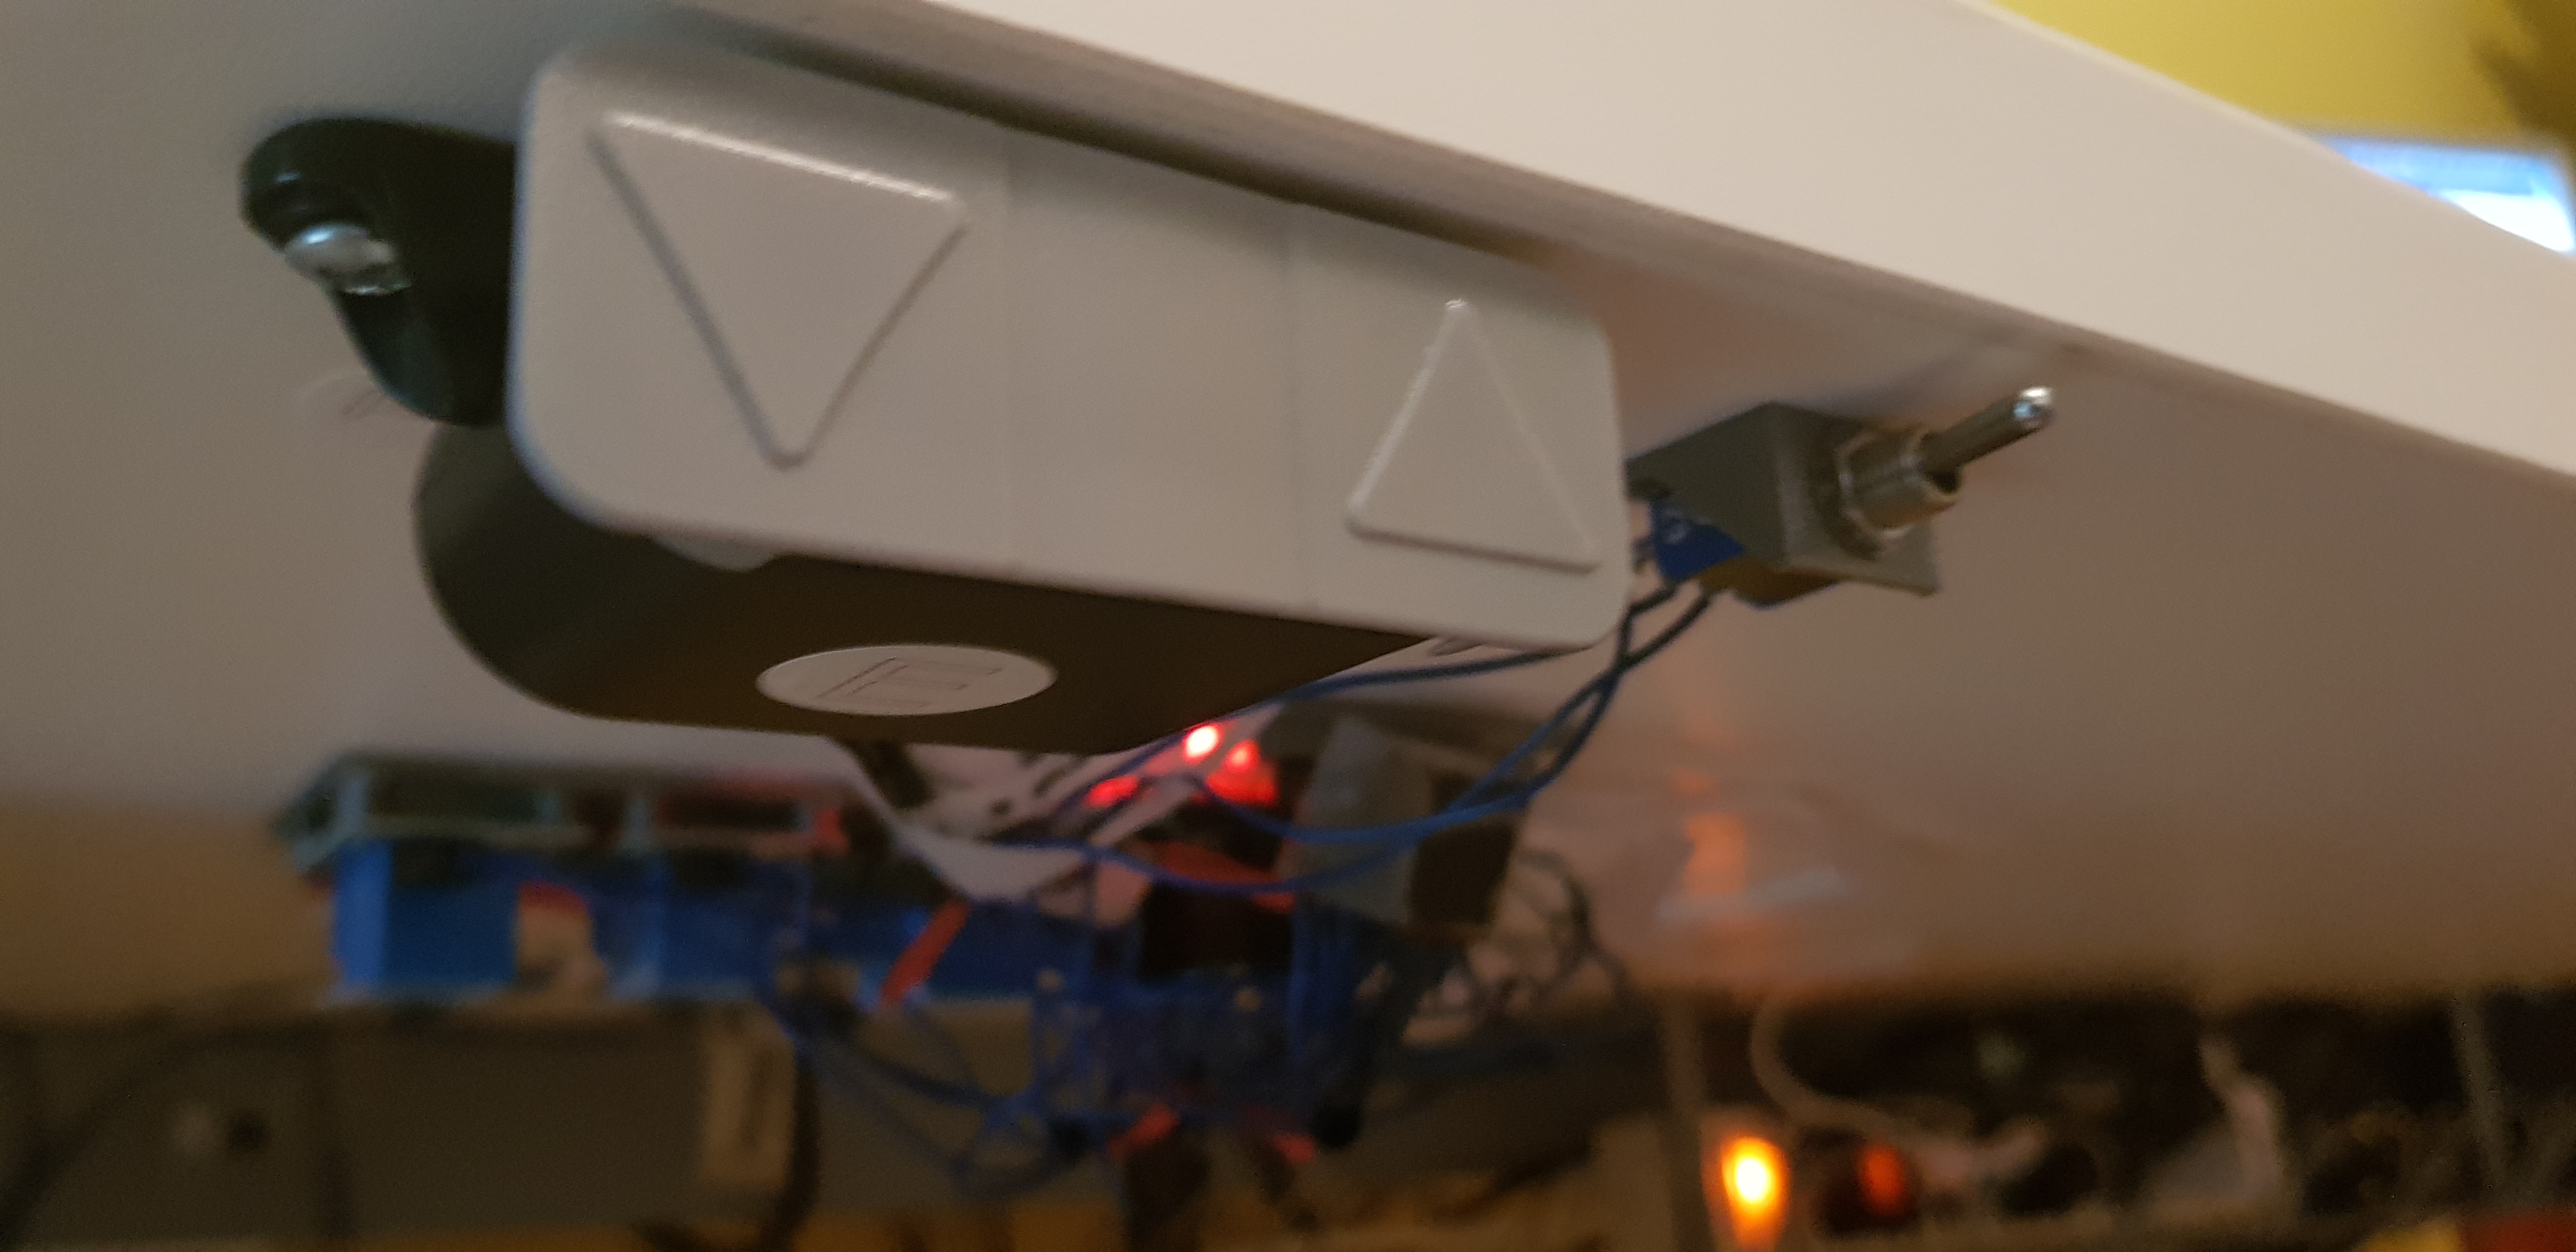
To hold all pieces in place and conveniently position the switch and sensors I designed a couple of simple pieces on CAD and 3D-printed them.
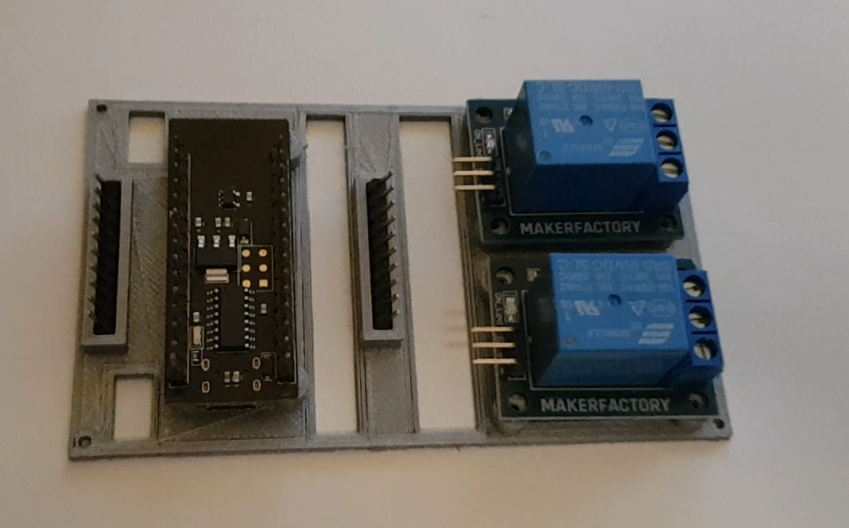
3D printed parts holding the Arduino and relais in place.
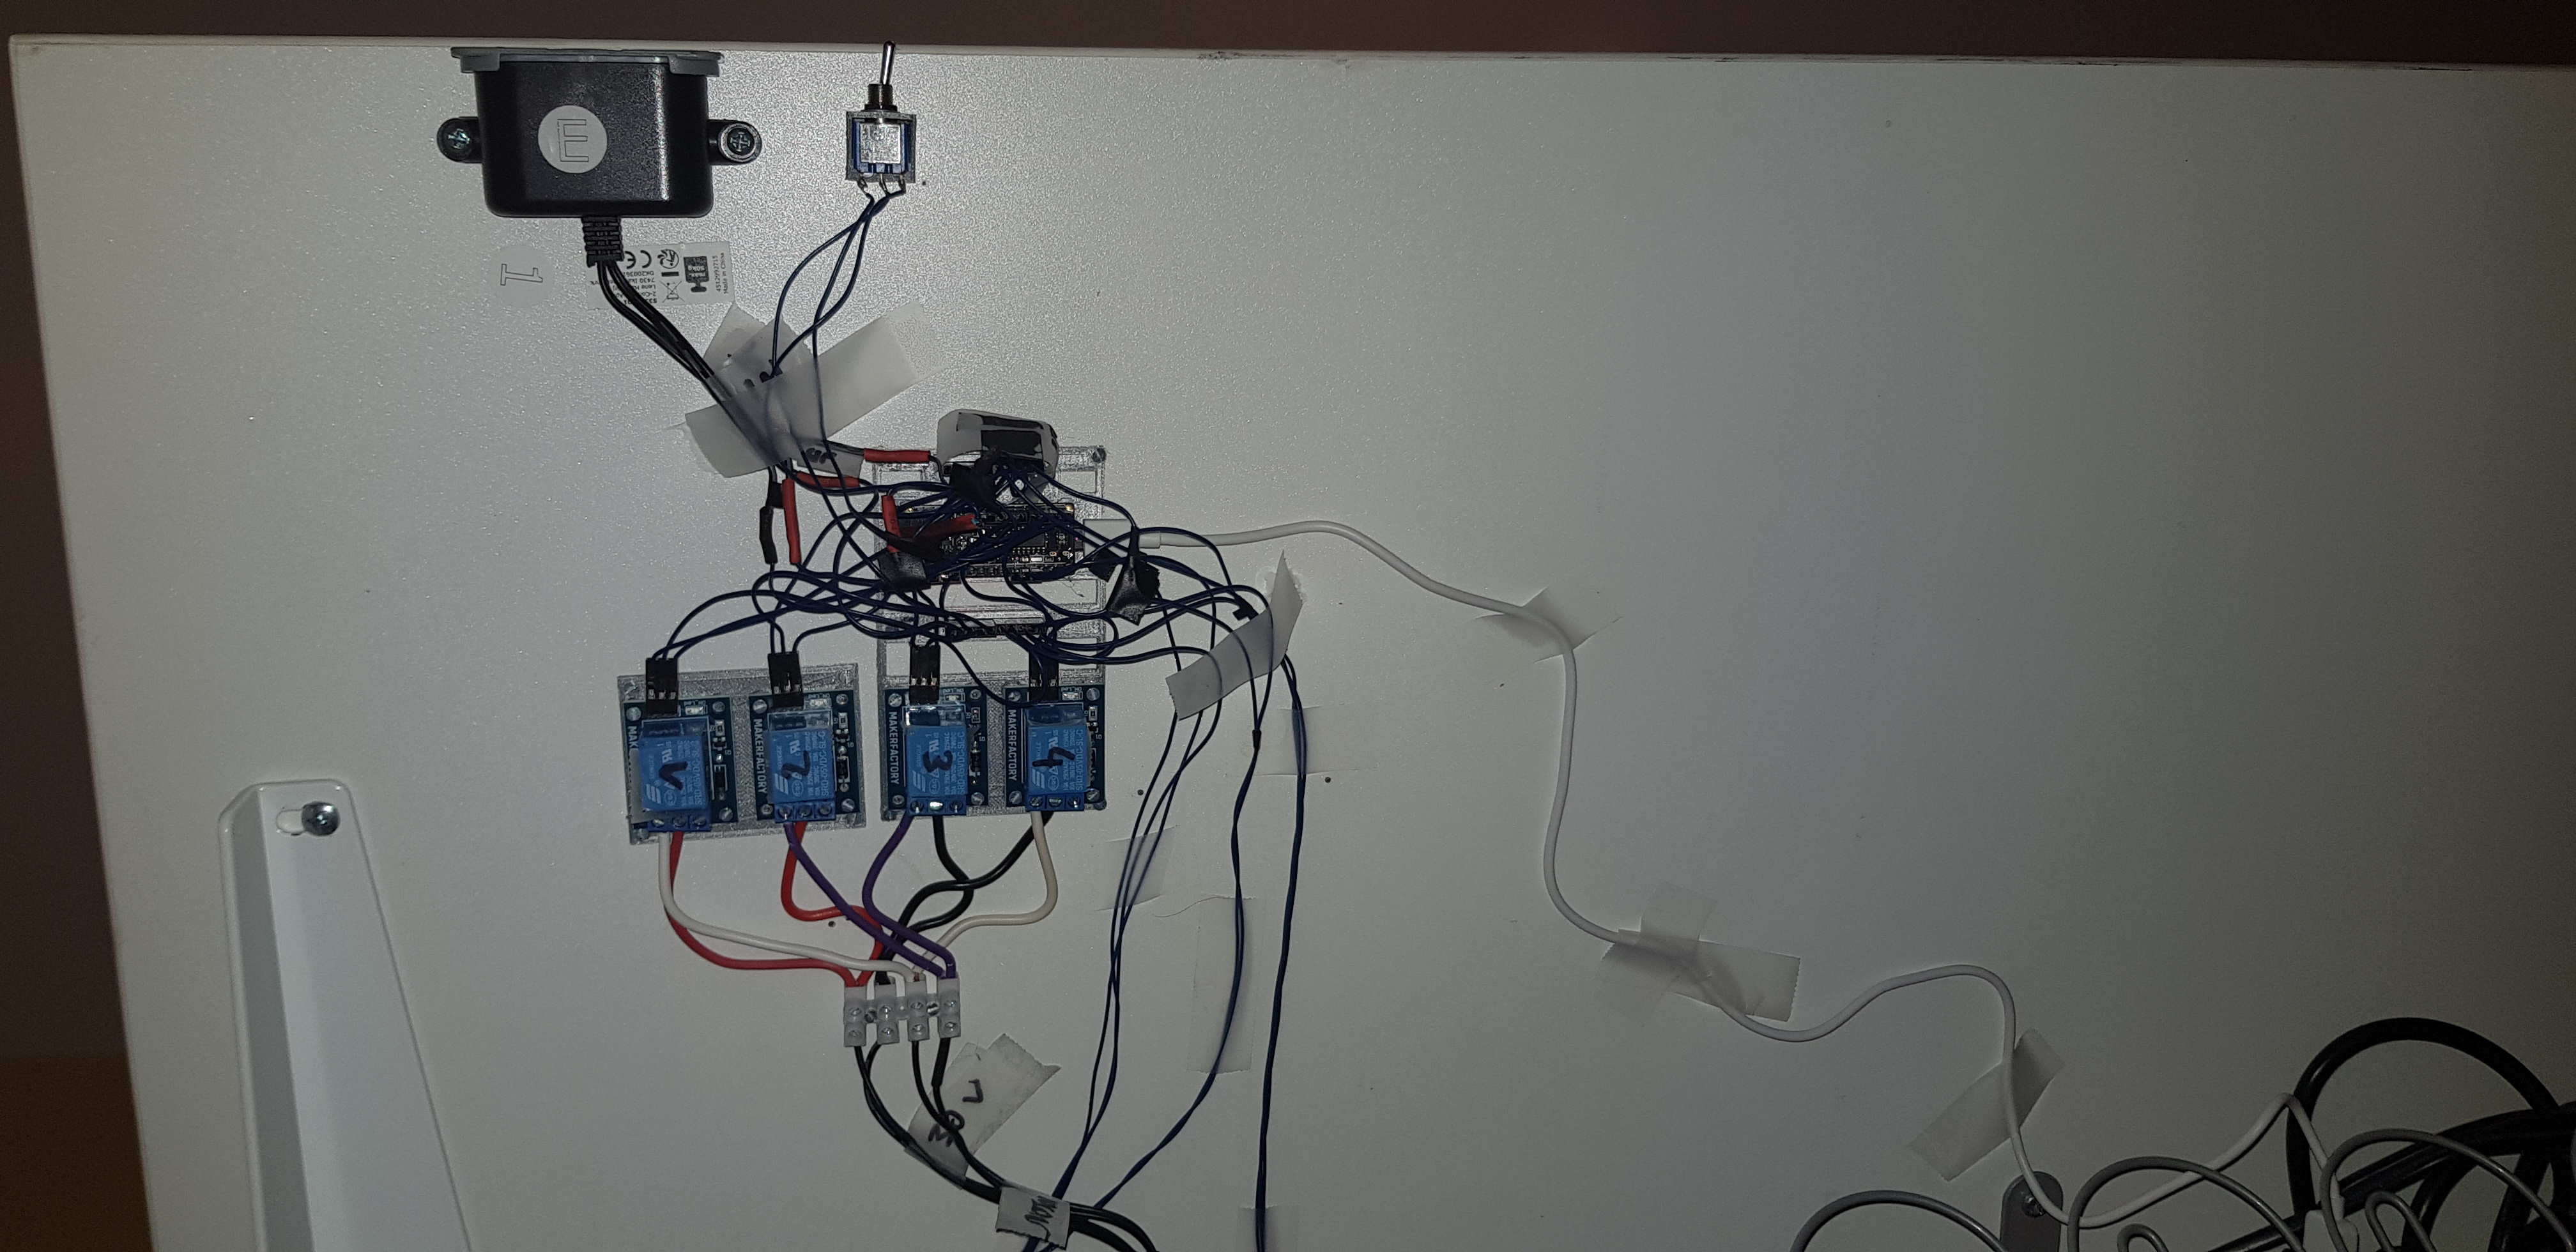
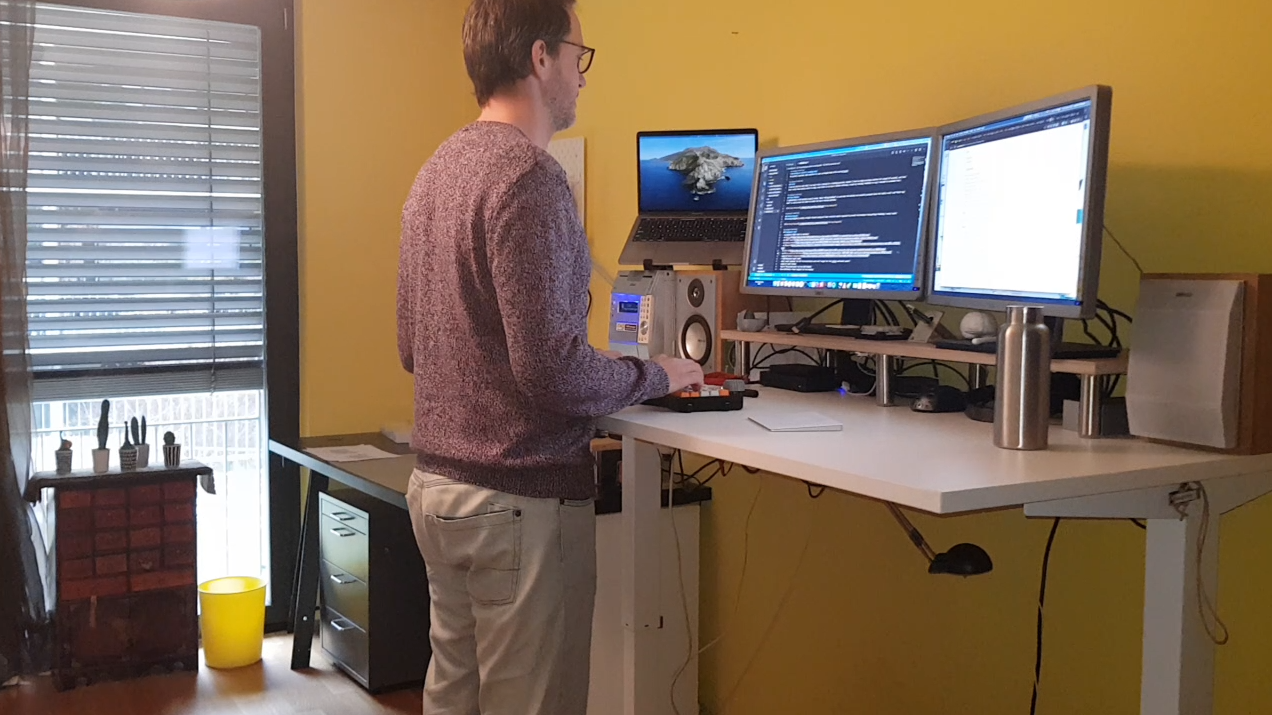
The final view.